How to Upload an SVG to Cricut Design Space (Desktop, iPad and Phone)
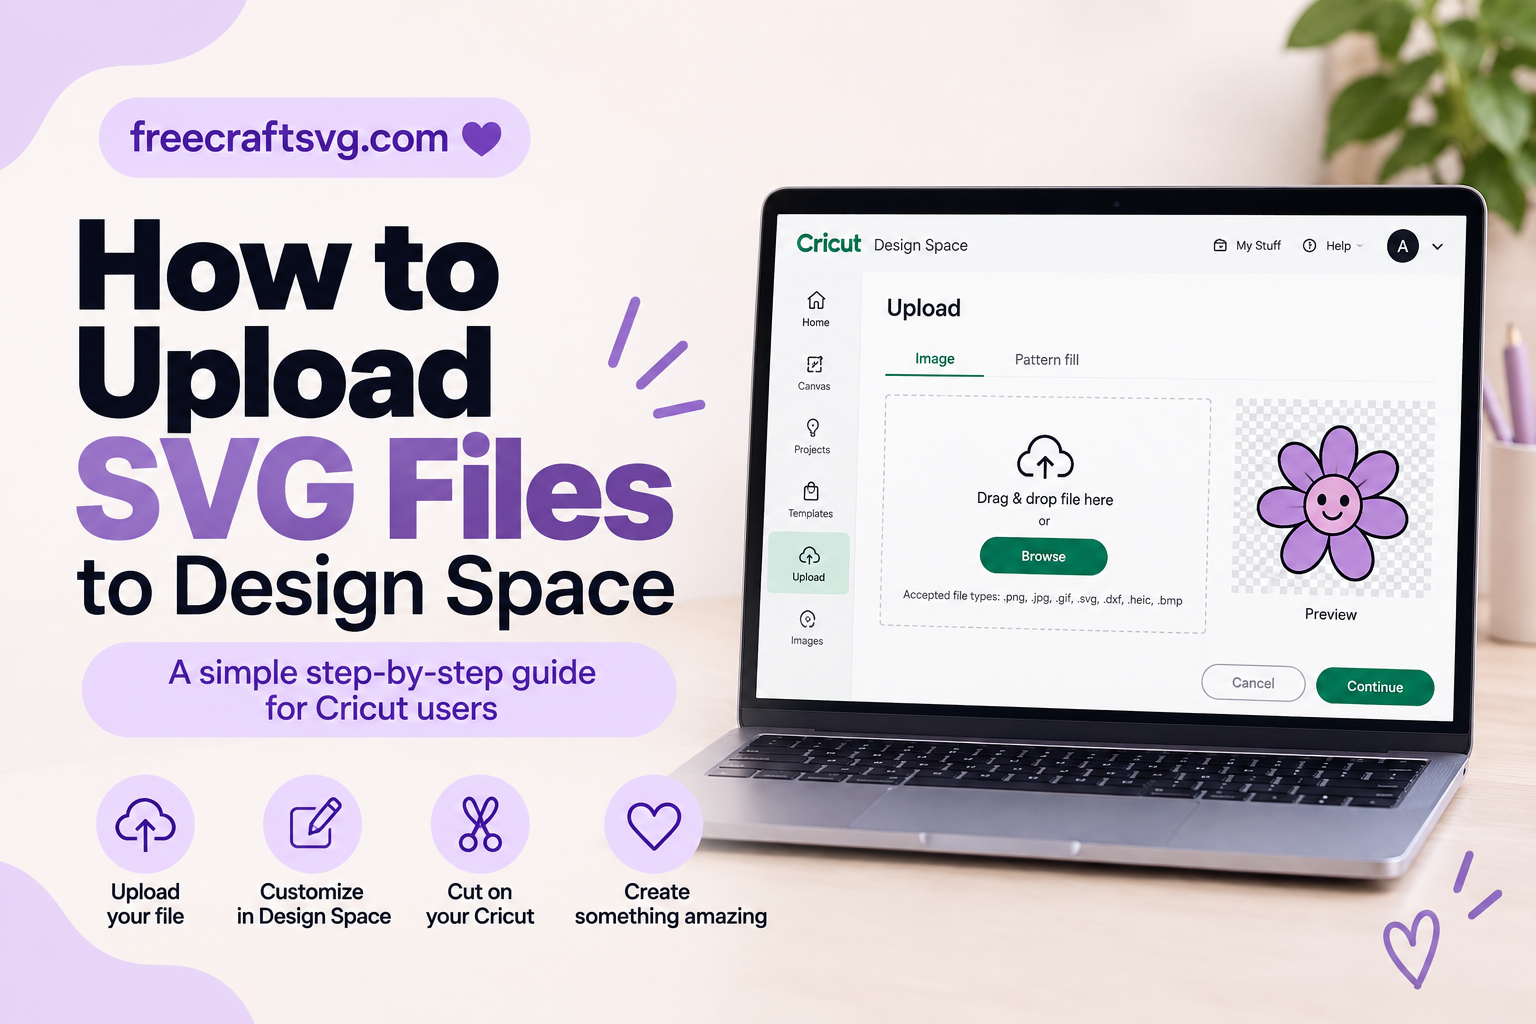
To upload an SVG to Cricut Design Space, open a new project, click Upload in the panel along the left side of the canvas, choose Upload Image, browse to your unzipped SVG file, give it a name, and click Upload — then select the image and add it to your canvas.
That’s the whole thing. Really.
If you just got a Cricut and this feels overwhelming, take a breath. You’re not doing anything wrong. Most people who get stuck aren’t stuck on Design Space at all — they’re stuck on the zip file that downloaded before it.
So let’s start there.
Good news first: you do not need a Cricut Access subscription to upload your own SVG files. Uploading and cutting files you downloaded yourself is a standard part of Design Space. (Cricut Access gets you Cricut’s own image library and a few automatic cleanup tools — it is not required for this.)
Step 1: Download the File and Unzip It
When you download a cut file from a site like ours, it usually arrives as a zip file — a folder squished down into one file so it downloads faster.
Design Space cannot read a zip file. You have to open it up first and pull the SVG out.
Here’s how, on each device.
On Windows
- Open your Downloads folder.
- Find the zip file. It will have a little zipper or folder icon.
- Right-click it and choose Extract All.
- Click Extract. A normal folder appears with the same name.
- Open that new folder. Inside you’ll see the actual files — look for the one ending in .svg.
That’s the file you’ll upload.
On Mac
- Open your Downloads folder in Finder.
- Double-click the zip file.
- A regular folder appears right beside it, already unzipped.
- Open it and find the file ending in .svg.
Mac makes this one easy — a double-click is all it takes.
On iPad or iPhone
- Open the Files app (the blue folder icon).
- Tap Browse, then On My iPhone/iPad or Downloads — wherever your download landed.
- Tap and hold the zip file until a menu appears.
- Choose Uncompress.
- A new folder appears. Tap it to open, and find the .svg file inside.
Do not skip this step and try to upload the zip itself. That’s the single most common reason a beginner gets an error message.
A note on file names: SVG files often show a plain white or blank thumbnail on your device. That’s normal. SVGs are made of cut lines, not a picture, so your computer doesn’t always know how to preview them. The file is fine.
How to Upload an SVG on a Computer (Windows or Mac)
This is the easiest place to learn, if you have a computer available.
- Open Cricut Design Space and start a New Project. You’ll land on a blank canvas.
- Look at the panel of icons running down the left side of the screen. Find Upload — it’s near the bottom, marked with a cloud-and-arrow icon.
- Click Upload Image.
- Click Browse to find your file, or simply drag the SVG from your unzipped folder onto the upload window.
- Design Space will show you a preview of your design. For an SVG, there’s nothing to clean up — just click Continue.
- Name your file and add a tag or two if you like (something like “pumpkin” or “fall”), so you can find it again later. Then click Upload.
- Your design now sits in your Uploaded Images library. Click it once to select it, then click Add to Canvas.
Done. Your design is on the canvas, already separated into layers by color.
From here you can resize it, change layer colors to match your vinyl, and click Make It when you’re ready to cut.
How to Upload an SVG in the Cricut App (iPad and iPhone)
The app works a little differently, and the buttons are in different places. Here’s the mobile version.
- Unzip your file in the Files app first (see the steps above). This is non-negotiable on iPad.
- Open the Cricut Design Space app and tap New Project.
- On the toolbar along the bottom of the screen, tap Upload.
- You’ll be asked where the image is coming from — photos, camera, or your files. Choose the option to browse your files (not Photos — SVGs don’t live in your camera roll).
- Navigate to the unzipped folder and tap the .svg file. Tap the SVG itself, never the zip.
- Name the image, then tap the upload confirmation in the upper right corner of the screen.
- Your design lands in your uploaded images. Tap it to select it, then tap the button to add it to your canvas.
One tip that saves a lot of frustration: unzip everything in the Files app before you open Cricut. Hopping back and forth between apps mid-upload is where people lose track of where the file went.
SVG vs. PNG or JPG: Why It Matters
This trips up almost every new crafter, so it’s worth 60 seconds.
An SVG is made of cut lines. When you upload one, Design Space already knows exactly where to cut. It comes in already layered — the shirt in one color, the lettering in another — and you can resize it as big or as small as you want with no blurriness. There are no cleanup steps.
A PNG or JPG is made of pixels — it’s a photograph or picture. Design Space doesn’t know where the cut lines should go, so it walks you through a cleanup process: erasing the background, choosing what to keep, and deciding whether you want it as a single cut layer or as a Print Then Cut image you print on your home printer first.
Both work. But if a file is offered as an SVG, take the SVG. It saves you every one of those cleanup steps and gives you a cleaner cut.
Our seasonal files, like our free Halloween SVGs collection, are all packaged as true layered SVGs for exactly this reason.
Troubleshooting: When the Upload Won’t Work
“Unsupported file type” or nothing happens when you browse.
You’re almost certainly pointing at the zip file, not the SVG inside it. Unzip it first, then upload the file ending in .svg.
“Your file includes unsupported items.” Something inside the SVG can’t be translated into cut lines — usually a gradient, a photo tucked inside the file, or live text that was never converted to outlines. Try a different version of the file, or contact whoever made it. This is a file problem, not a you problem.
The design comes in as one flat layer instead of separate colors. Two common causes. Either the file was built as a single merged shape (some free files really are one layer), or you accidentally uploaded a PNG version of the design instead of the SVG. Double-check the file extension. Also check the Layers panel on the right — sometimes layers are there but grouped, and clicking Ungroup reveals them.
The design comes in tiny, or enormous. Completely normal. SVGs don’t carry a fixed real-world size. Select the design on your canvas and type the size you actually want into the size fields — width and height — before you cut. Make sure the little lock icon is closed so it scales proportionally.
Parts of the design are missing. Look at the Layers panel. A layer may be hidden behind another, or a piece may have come in white on a white canvas. Try changing the layer color to see it.
The upload spins forever or fails. Close Design Space completely and reopen it. On desktop, a slow or dropped internet connection is the usual culprit, since uploads save to your Cricut account. Very complex SVGs with thousands of individual paths can also stall.
Still stuck? Try the same file on a different device. If it uploads on a computer but not on an iPad, the file is fine and it’s a device issue.
A Quick Word on Using Your Files
Free doesn’t always mean free for everything. Most free SVGs are licensed for personal projects — gifts, your own shirts, your own tumblers — while selling finished items may need a different license. If you plan to sell what you make, check the terms first: Commercial use
You’ve Got This
The upload itself takes about fifteen seconds once you’ve done it twice. The unzipping is the only genuinely fiddly part, and it gets automatic fast.
Download one simple file today and walk it all the way through — unzip, upload, add to canvas, resize. Once that click-path is in your fingers, every project after this one starts the same way.